This page contains affiliate links
How to Start a Profitable Blog in 15 Minutes or Less with Bluehost

Have you ever wanted to start a blog but didn’t know where to start? Do you keep second guessing the idea of starting your own blog due to financial reasons or just from feeling uncertain?
I wrote this post as an honest resource and step-by-step guide to help you establish your own self-hosted blog in the most affordable way.
I’ve been blogging here for 4 years already and it’s been such an amazing journey.
My interest was sparked when I spent 2-3 months reading other people’s blogs and playing around with the idea of starting my own. I was nervous and unsure at first, but I just couldn’t shake the idea and I knew I had to at least try it. I’m so grateful that I took the plunge and just started because it’s changed my life already.
Why I Started Blogging
I initially started my blog as a creative outlet to share my financial journey and be accountable for paying down my debt, promote my freelance writing services and possibly start earning an additional stream of income from my blog. Just a few months in, I achieved everything I intended to do and so much more.
Being accountable through this blog and the income I’ve earned from it has helped give me the drive I need to pay down my debt at a faster rate than I ever could have imagined. By interacting with other bloggers and sharing my views, it’s given me a different perspective on how I’d like to live my life and manage my finances.
Most important, it’s my unique little corner of the internet where I share my thoughts, experiences, failures, and successes and look back at my published story from time to time.
Update: I quit my job to start blogging and freelancing full-time in 2016 and I’m loving the freedom and flexibility that self-employment provides.
Starting a blog can open the door to effective goal setting, new opportunities, and even diverse streams of income if you decide to take your blog a step further by monetizing it, selling a service or marketing an e-book. I want to be clear that starting a blog is NOT a get rich quick technique. Building up a blog that will help you earn an honest income takes time and lots of dedication and effort.
If you’re hesitant about the start-up costs, or just overwhelmed with the idea of the whole process, this simplified guide will walk you through setting up your very own blog on a budget.
Step 1: Decide on a Topic
Before you do anything, you need to decide what your blog will be about. There’s an endless variety of topics to cover and you just need to find what you’re passionate about and what excites you. For me, my passion is personal finance and helping others get out of debt once and for all.
I love talking about budgets, saving, increasing income etc. I’ve also created blogs about fashion and food/cooking as those are two other interests of mine.
Take a moment if you need to and brainstorm or poke around on the internet for ideas. You don’t have to write about personal finance just because a lot of other people are.
Do you have any talents? Can you cook, dance, or do you have a way with animals? Are you interested in sharing your journey about parenting? Are you a technology whiz? Did you just endure a life-changing experience that altered the way you view the world?
These are just a few thoughts to help get your creative wheels turning. Blogging takes a lot of effort and you want to make sure you’re writing about something that excites you and fulfills a passion of yours.
If you already know what your topic will be you can move on to step two. If you’re still deciding, I’ll wait 🙂
Step 2: Please Consider a Self-Hosted Blog
If you’re looking to start a blog for cheap, you may initially consider starting a blog for free through Blogger or WordPress.com. If you want your blog to be around in the long run, this is almost never a good idea.
Choosing a hosting company and purchasing your own domain is the best route to go if you want your blog to look professional, be visually appealing and fully functional. If you are interested in earning an income from your blog one day, it’s crucial that you start with a hosting company. It’s so much easier to secure private advertising from other companies when you have a self-hosted blog and not a free platform.
I can honestly say that 9 out of 10 times, the bloggers I’ve come across that started their blog through a free platform like Blogger have all switched over to a self-hosted platform once their blogs started to grow. I can undoubtedly say the 1 out of 10 that hasn’t yet will soon if they continue to blog.
What’s a hosting company?
A hosting company is simply a type of Internet hosting service that allows individuals and organizations to make their website accessible via the World Wide Web. Web hosts are companies that provide space on a server owned or leased for use by clients, as well as providing Internet connectivity, typically in a data center.
When you use a hosting company, you can establish your own domain or website address like www.yournewblog.com instead of www.yournewblog.blogger.com.
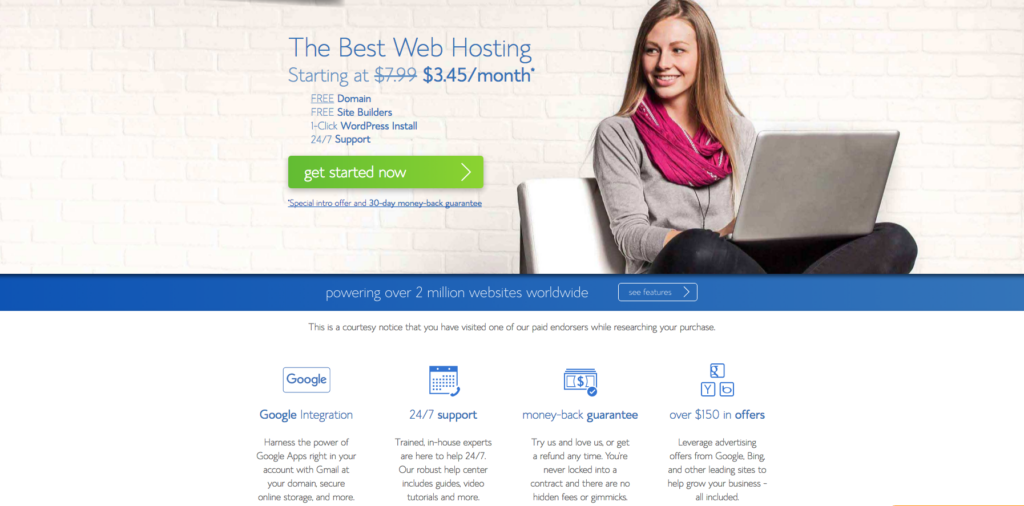
Just because you choose to pay for hosting and your own domain name doesn’t mean you have to spend a lot of money to start your blog. My hosting company of choice is Bluehost and I couldn’t recommend them more. I’m an affiliate for Bluehost, which means when someone signs up with them using my unique link, I get a small kickback. However, my recommendation is based on my personal experience with the company and I would refer new bloggers who are looking for affordable web hosting to them regardless.
I have never had a problem with their hosting services and their technology is unbeatable. Bluehost provides unlimited hosting space, free website templates, my very own professional email account, and it’s very WordPress friendly since I used WordPress as my content management system to create posts on my blog.
Hosting packages with Bluehost start at $3.95/month (this is the hosting package I started with but they also have an unlimited package for $5.95 per month which ends up being a better value) and when you sign up you even receive your domain name absolutely free.
Step 3: Register a Domain Name
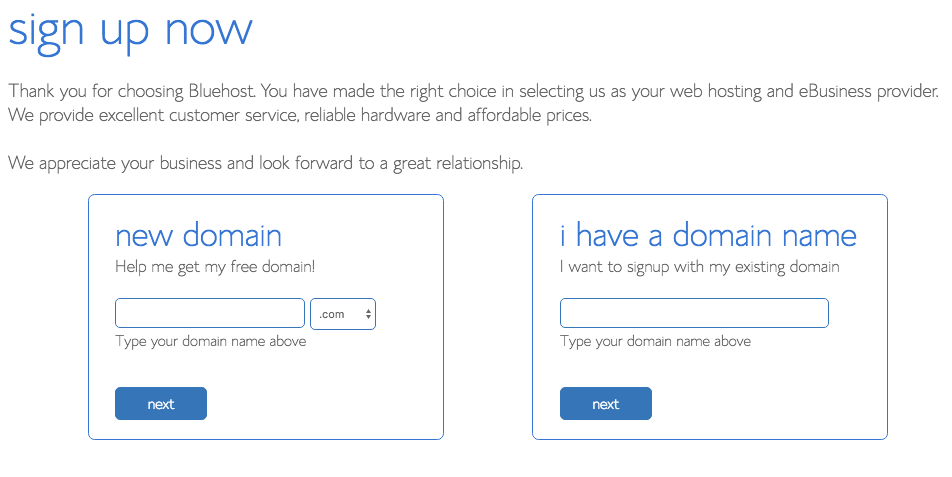
Again, your domain name is your website address or something like www.yournewblog.com. Choosing your domain name can be tricky because your domain name has to be unique and can’t use anything that is already in use.
I chose mydebtepiphany.com because I thought it was something everyone could relate to. My blog’s name represents the financial struggle that most people endure when they have debt and how changing your mindset and realizing your ultimate goal can help improve your overall financial stability.
There are several sites you can use to purchase your domain name but remember, if you do it through Bluehost you’ll get a free domain name as long as you buy 12 months’ worth of Bluehost web hosting so you can knock both things out at once.
Step 4: Purchase Hosting
In my experience, it’s best to purchase two to three years’ worth of hosting if you’re very confident that you will be blogging for a while because it’s much cheaper that way and you won’t have to worry about renewing your domain every single year.
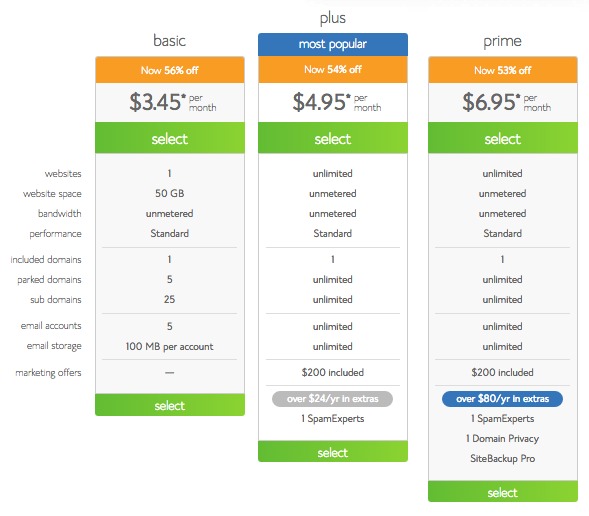
Now, all you’ll need to do is click the ‘Get Now Started’ button, choose the package you want, enter your domain name, and then add your payment information to complete the purchase.
You’ll also be asked to create a password to help you login to your new account.
Step 5: Create a Password and Log In
Choose a strong password with uppercase and lowercase letters along with symbols. Once you select your password, you can sign in and get started!
Bluehost will automatically install WordPress for you at this point – this saves so much time and spares you any confusion since in the past, users had to install WordPress on their own.
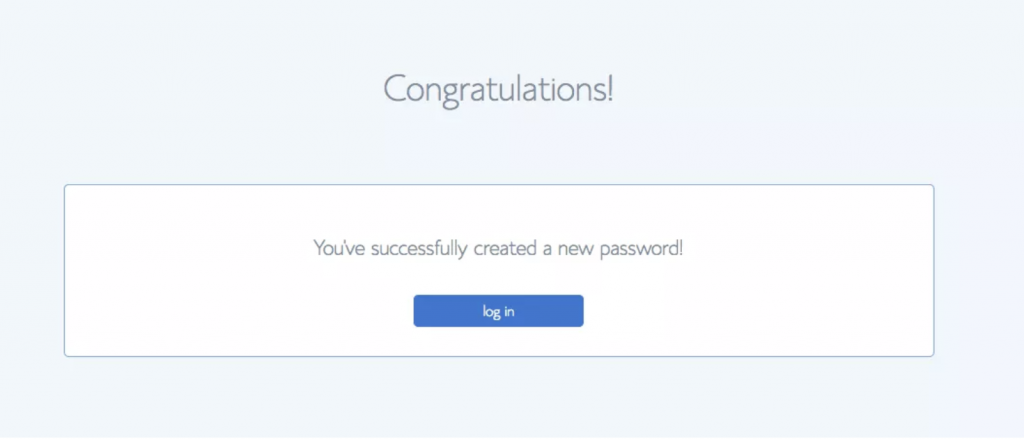
Click the “log in” button (as shown below in the screenshot) to get started!
Step 6: Choose a Theme
Now it’s time for the fun part. It may take you a while to decide on the right theme and design you’d like for your blog and you should take all the time you need.
There are literally hundreds of free themes you can browse through and I even started my blog off with a free theme.
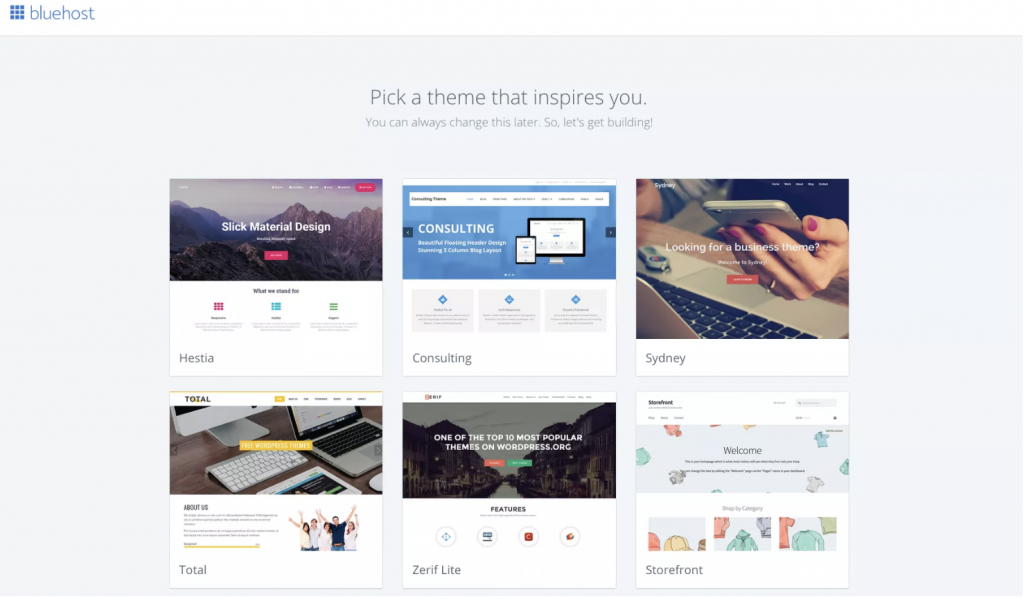
If you want to differentiate the look of your site though and have more freedom to customize it, you might want to pay for a theme. Whichever theme you use, it’s important to have a responsive one (this means it will show well on various different devices like laptops, tablets and mobile phones) because will only favor websites with a responsive design nowadays.
The first professional theme I chose to go with was a StudioPress Themes for WordPress along with the Genesis Framework, both of which I’ve heard amazing things about. The Genesis framework is a great investment. It can accommodate various different types of themes and it’s is very flexible and pretty affordable as well.
Step 7: Start Building… and Blogging!
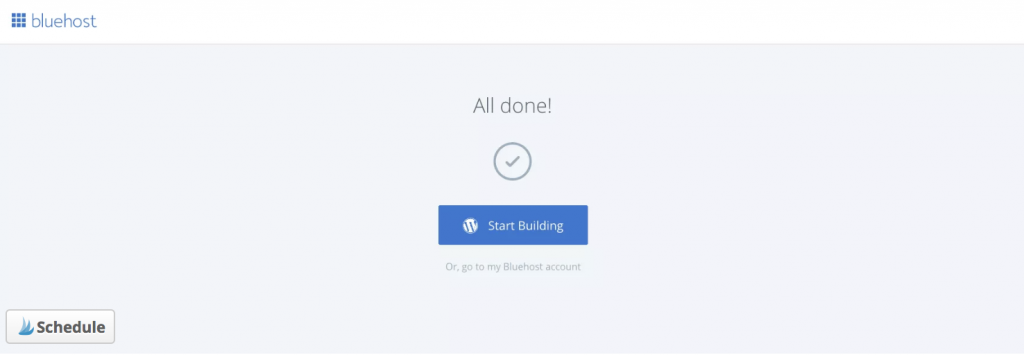
It’s the moment you’ve all been waiting for..Click on ‘Start Building’ to start building your blog!
At this point, you can opt to be guided through the setup process, or you can click “I don’t need help” if you’re already familiar with WordPress.
Once you log into your site, make sure you’re at the dashboard and click Add New Post. Title your post and click publish when you’re complete! Here’s how my first blog post turned out (see it here), and I just kept on writing and enjoying every minute of it.
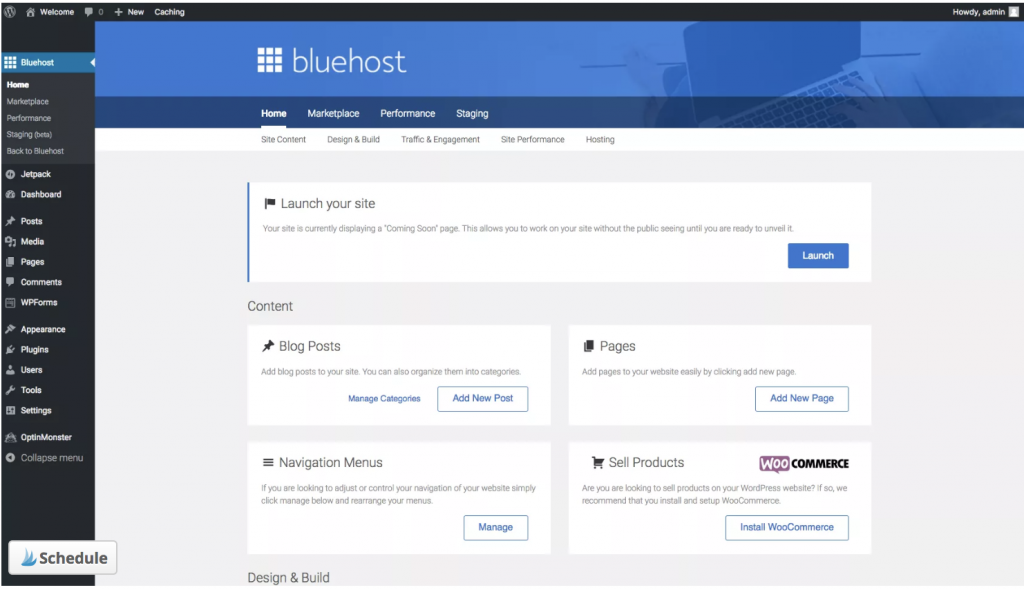
Keep in mind, the domain name you chose will display a “coming soon” message (when someone types it into their search browser) until you set up your blog completely and click ‘launch’ from the WordPress dashboard.
I hope you enjoyed this guide and found it helpful. If you still need clarification about anything remember, I’m only just an email away.
If You Need Additional Help With Growing Your Blog
I recently created a free email course called Start a Successful Money-Making Blog in 10 Days. In this course, you’ll learn everything you need to build your blog from scratch, increase your traffic, and monetize your site so your blog actually earns money on the side.
You can sign up for the course below.
If you want to see this tutorial in action, watch the video I recorded of me going through the process below.
This page contains affiliate links
Learn How to Start a Money-Making Blog in 10 Days

My free blogging course will teach you everything you need to know about starting a blog, increasing your traffic, and how to monetize it quickly so you can earn money doing something you love.
